Friday, February 19, 2021

 Choosing Fabrics for a Peaceable and Harmonious Quilt


Snuggling down into a handmade quilt, with a cup of coffee and a good book, can turn an average day into an awesome one.  Wrapped in that cocoon made with love, brings peace and contentment to my soul.  This is why I quilt.  I want every quilt I make, big or small, to carry love and peace to its recipient.

Achieving that goal starts with finding fabrics that will work harmoniously together to produce a finished quilt that is peaceable.  This is the most important step in creating your quilt.  This process can be daunting, and you will get overwhelmed if you overthink it.  At Hancock Fabrics, I was often called to help customers with this process.  It is also one of the most creative and fun parts of quilting!


Here is how I do it:

If you are using a pattern, use it as a guide for how many different fabrics you will need.  Most patterns will suggest which fabrics should be a small print, a large print, or a solid.

Next, decide on your main colors or a focus fabric.  I usually start with a print I like.  Then start pulling pieces that you like and think will work.  Stack fabrics together, so you can see each piece.  This is the time to let your creativity loose and be open to possibilities.  Throw in that piece of hot pink or lime green and see how it works.  Try a stripe or chevron.  You aren't making any decisions here, just tossing in potential winners.

Then start eliminating.  There will be one that you love but just doesn't flow with the others.  Be brave and save it for next time.  Continue adding and eliminating fabrics until you have what you need.  I this example I needed 7 fabrics.
Check out your choices in different lighting.  If you aren't happy with what you have in your stash, you may need to go shopping.

Unfortunately, I found what I needed in my stash.  This is what I ended up with.


Remember this is art, not an exact science.  Trust your own creativity and have fun.  There are no right or wrong choices here, just good and better ones.  If you like what you see, chances are others will like it also.

At this point, if I'm still not sure, I walk away.  Sometimes I'll make a couple of test squares and put them up on my design wall.  Then I go get a cup of coffee and take a break.  Hopefully, when I walk back into the studio, one will speak to me.  But no matter what, at some point, I have to make a choice.

Otherwise, I'll never start a quilt, much less finish one.  And the blessing God intends it to be will never be received.

Do you have a method for picking out fabrics?  Tells us about it in the comments.


"I will not buy any more fabric until I use up the stash I have at home", I said.

Then I laughed and laughed and laughed!


Friday, January 29, 2021


Last fall I promised I'd share my pattern for Mug Rugs.  Then I got sick and everything stopped.  I did no writing, no quilting, no cleaning, no cooking- no nothing.  My get up and go had got up and gone
But the good news is I'm back!  I'm writing again and have spent some time in my workshop.

So, mug rug.  What is it and why do I want to make one or use one?.  Well, a mug rug is a quilted mat that is big enough to hold a cup and a snack.  They range in size from 4" x 7" to 8" x 12".  After some experimenting, I found I like the 6" x 9" size the best.  It is a great way to use some of your fabric scraps or practice blooks.


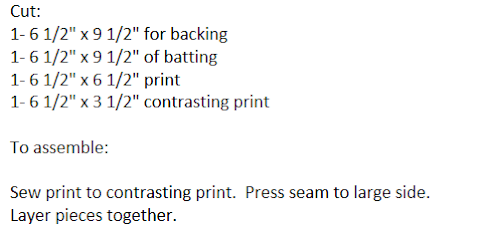
For this pattern, you will need backing, batting, and 2 coordinating prints for the front.  You can use any batting as long as it is not a high loft (may make your mug wobble). This is another place you can use up small pieces.  Just whip stitch together until you have a big enough piece.


Sew around the mug rug using a 1/4" seam, leaving a 2"-3" gap on the side or bottom.  Trim away excess batting in the seam allowance.  trim corner diagonally, being sure not to cut into the seam.

Turn inside out through the opening.  Fold the opening in and press.  Topstitch around the edges, being sure to catch the opening to sew it closed.

Quilt as desired.  I do mine with a diagonal pattern.

These make wonderful, inexpensive gifts.  Making them doesn't take a lot of time, so make a few for your friends while you make your own.

Until next time,


You haven't had enough coffee until you can thread a sewing machine while it is running!


Thursday, September 17, 2020

10 Creative Ways to Display Quilts


Do you have some quilts are hidden away because you don't know what to do with them?  They may be tucked away in closets and drawers to keep them safe.  My mom keeps hers between the box springs and the mattress of her bed.


It's time to see them free!  Quilts aren't just some plain old blanket - they are works of art!  They were lovingly created to be used and seen.  They should be admired for the skill that created them and embraces the love that inspired them.  Chances are they have precious memories for you.  Let's get them out of hiding and let them share the love they hold.


I have quilts displayed in every room of my house except the kitchen.  I realize that may not work with everyone's décor, but hopefully, these ideas will inspire you to set your quilts free, where they can be appreciated.


 Hang them:


💖Wood hanger with marbles.

I love these hangers!  They come unfinished so you can stain or paint them.  To use you just insert the quilt upward in the slot past the marble.  To remove the quilt, pull out sideways.


💖Wall shelf with hanging sleeve board.                                                                              You can use these even if your quilt doesn't have a sleeve.  Just fold it over the board.


💖Use a decorative curtain rod.                                                                                            This a wooden one, but I have used metal ones also. Fold the quilt over the rod and secure it at the sides.                                                                           


💖Quilt ladder                                                                                                                            A quilt ladder is a great way to display several quilts at a time.                                                                


💖 Floor Quilt Rack                                                                                                                       There are a lot of these to choose from.  They can be painted or stained to fit any decor. They are great to set in a corner or at the foot of the bed.


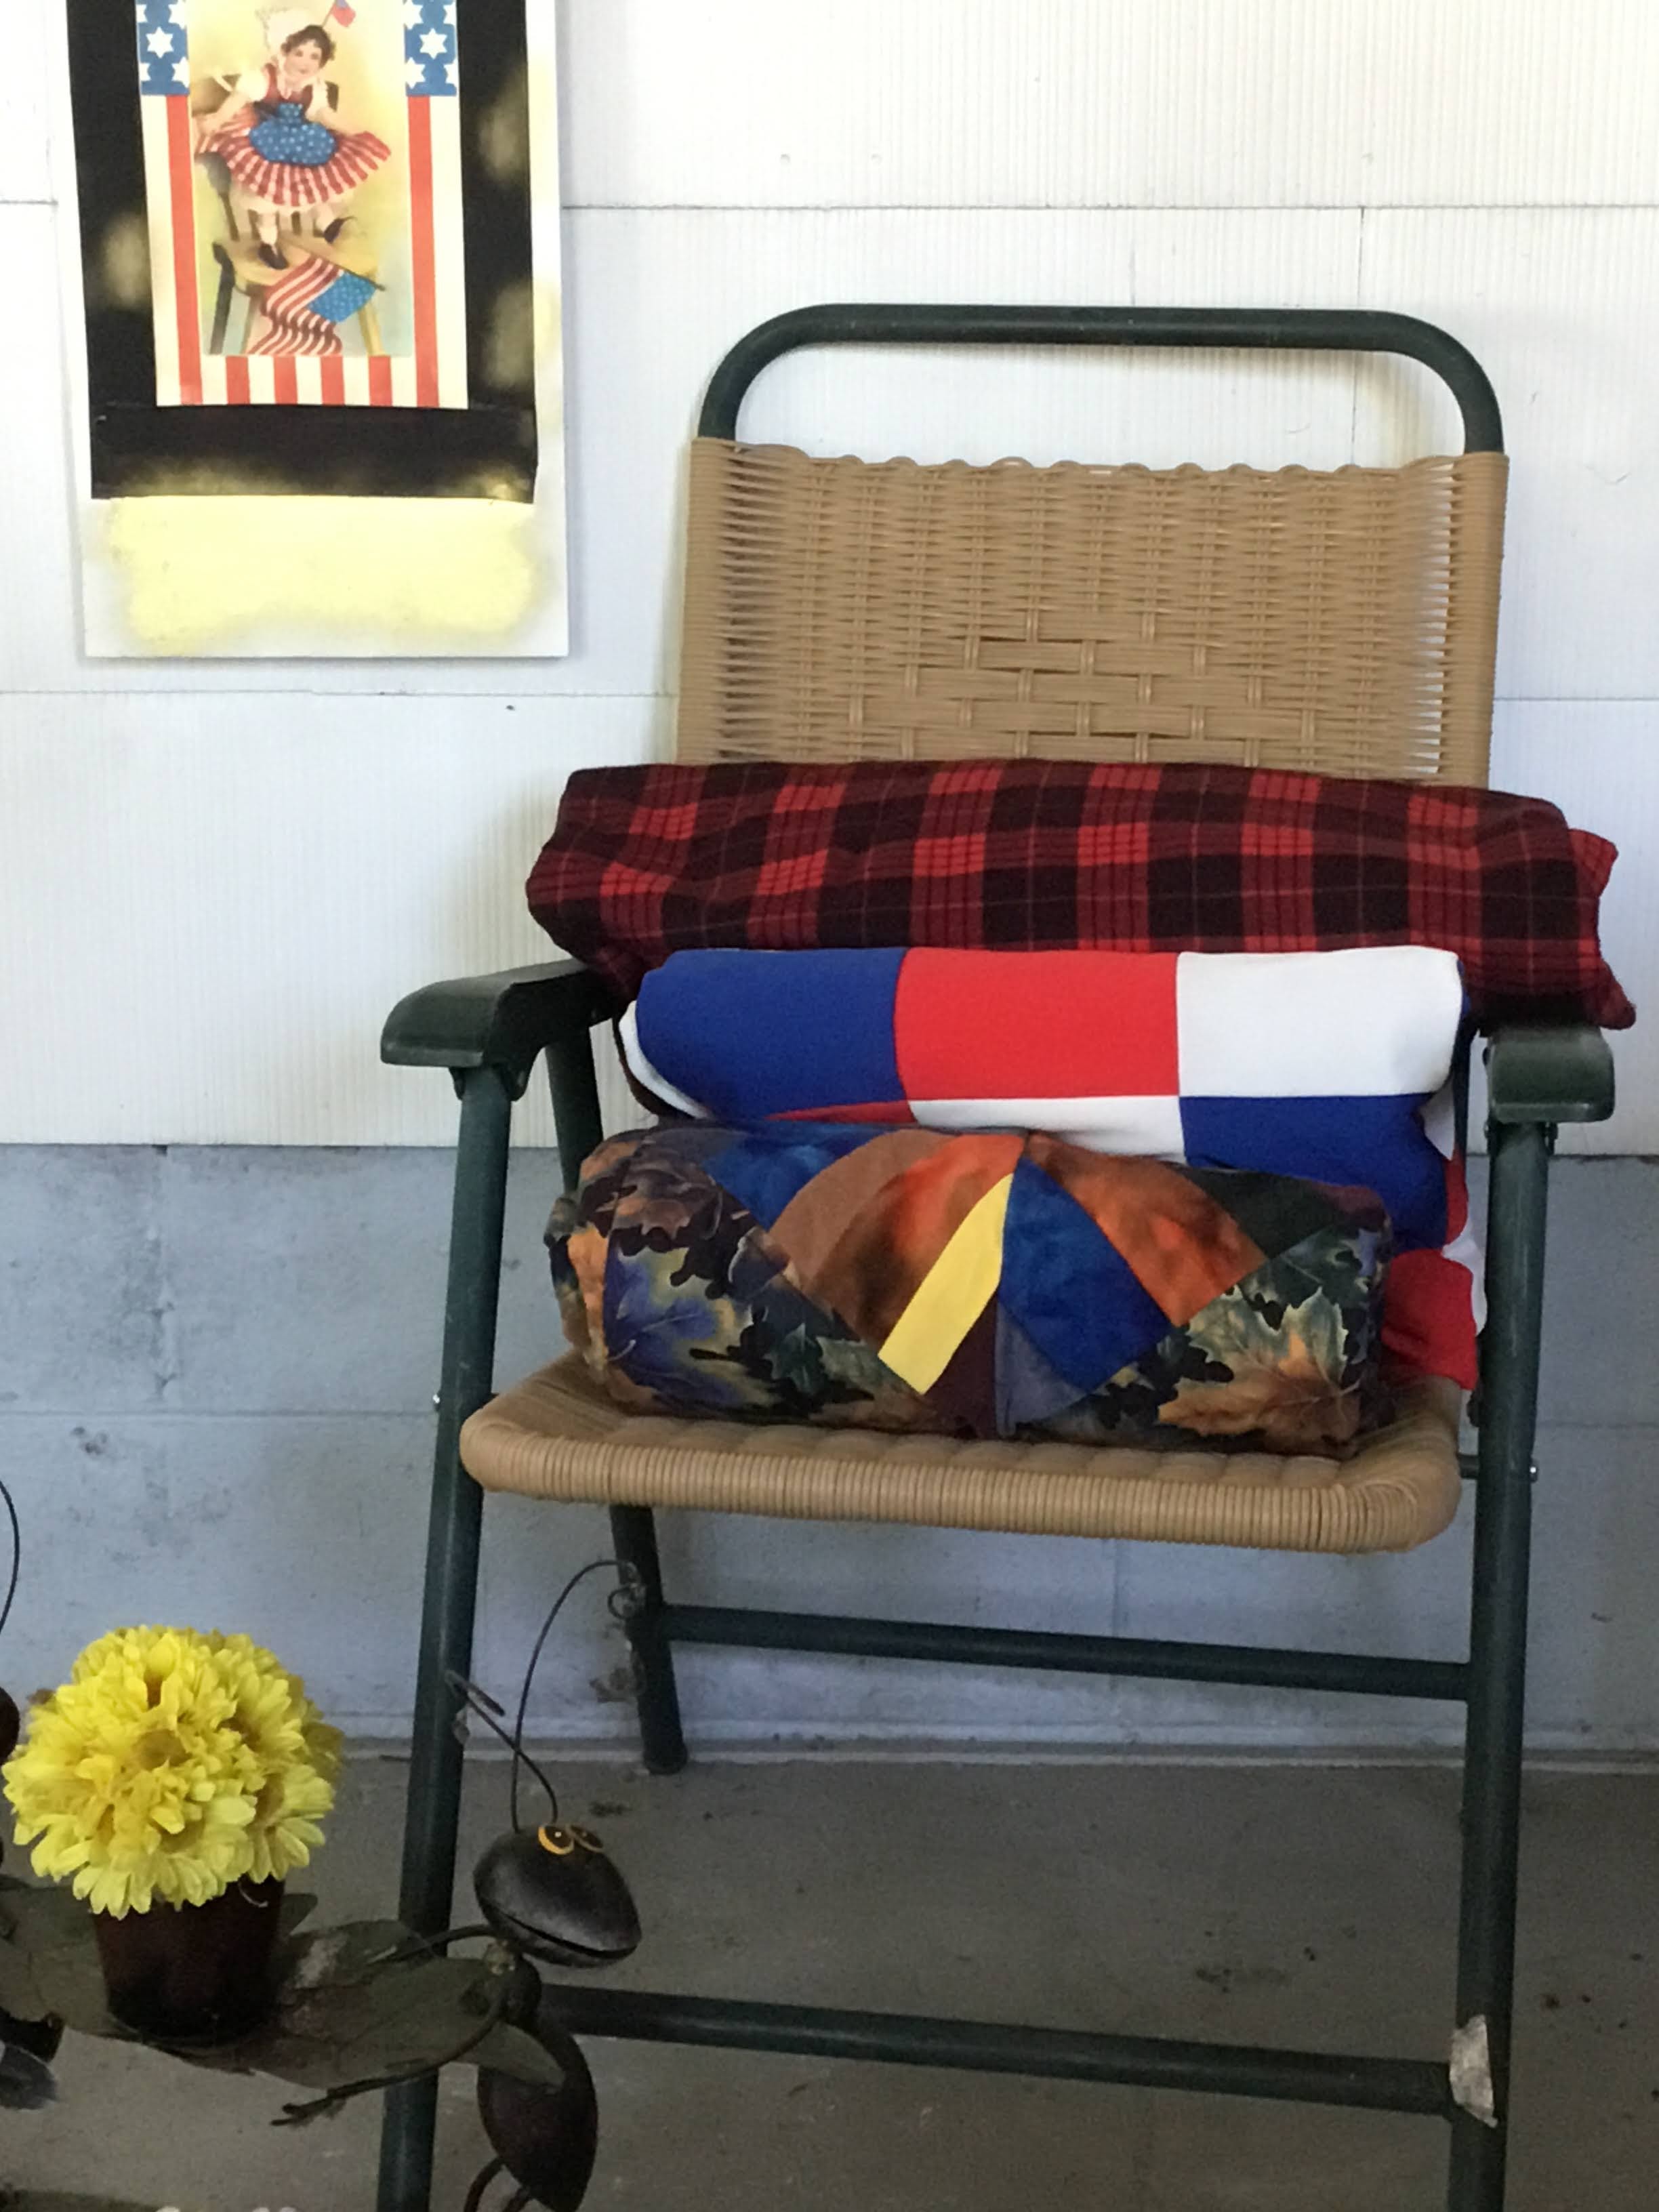
💖Stack on a chair                                                                                                                     I have these stacked on an antique lawn chair on the porch.  When the weather gets cooler, we can just grab one and wrap up.                                                                                                         


💖Stack on a bookshelf                                                                                                              


I saw this display on the web.  Beautiful!


💖Fold in a basket                                                                                                                      A large wicker basket holds several bigger quilts.  This old picnic basket is perfect smaller quilts or table runners.


💖Coffee table                                                                                                                            This is a clever idea, the quilt is displayed on a coffee table under glass.  The shelf below holds more quilts to snuggle up in.


💖Use as a table cloth                                                                                                            


I'm sure with a little bit of creative thinking you will discover unique ways to display your quilts.  I'd love to hear about them, so drop a line in the comments section below!


 "Creative clutter is more blessed than tidy idleness."


Tuesday, June 30, 2020

Pretty in Pink Quilt


Pink Floral Quilt, lap robe, throw

Yea!  I finished a UFO! 

One of my goals is to finish the UFO's (unfinished objects) in my stash.  This one was easy to finish, just needed the binding.  So I took a break from sewing facemasks and finished this beauty.  This pretty quilt has pink flowers and fuchsia roses, framed by wine and pink paisley print.   I really love the colors in this.

As I was sewing on the binding, Isaiah 35:1.-4 came to me.  I think it is a great description of this quilt and my prayer for whoever buys it.

The desert will blossom like a rose and rejoice!
Every dry and barren place will burst forth with abundant blossoms,
Dancing and spinning with delight!
My people will see the awesome glory of Yahweh,
The beautiful grandeur of our God.
Strengthen those who are discouraged, energize those who feel defeated.
Say to the anxious and fearful:
"Be strong and never afraid.  Look, Here comes your God!
He is breaking through to give you victory!"


Pink Floral Quilt close upPink Floral quilt close upPink Floral Quilt close up

The backing and binding are in a coordinating dusty pink.  What a wonderful gift for a special lady, even if that special lady is you! It would also make a lovely table topper or a picnic blanket.  Use it as a throw to curl up with a book or watch TV. 

Standard shipping is free!

Size: 52 x 52
Materials used: Cotton face and backing, polyester batting, poly-cotton thread
Machine pieced and quilted

Quilt can be purchased at jodelights.com or my Etsy store.  


Beautiful things come together one stitch at a time.


Monday, March 30, 2020

Workshop Tour

My sewing studio-Atelier 54

I am so excited to share my sewing space with you!  After months of working a bit at a time, my workshop, Atelier 54, is mostly ready to go.  I still have some finishing touches to do, but it is organized and set to sew! 

I'm blessed to have a large room in our basement to work with.  My husband wanted me to paint the walls a bright color, but I wanted to stick with white.  That way the true colors of the fabrics are seen and not compromised when I take pictures.  My office upstairs is painted apricot and every picture taken there has an orange tinge.

My sewing desk was in the room when we bought the house.  It must have been built in the room, because it is too big to fit through the door.  I  painted it and added a vintage sewing picture to the front.


Against the wall, i placed a board over another desk to hold a cutting board for  trimming and a small press mat.  In the corner of the two desks, I have a filing cabinet for patterns.


 Vintage thread and ironing advertisement decorate the walls with shelves for sewing treasures and supplies.


There is a pegboard in the corner to hold my quilting stencils.


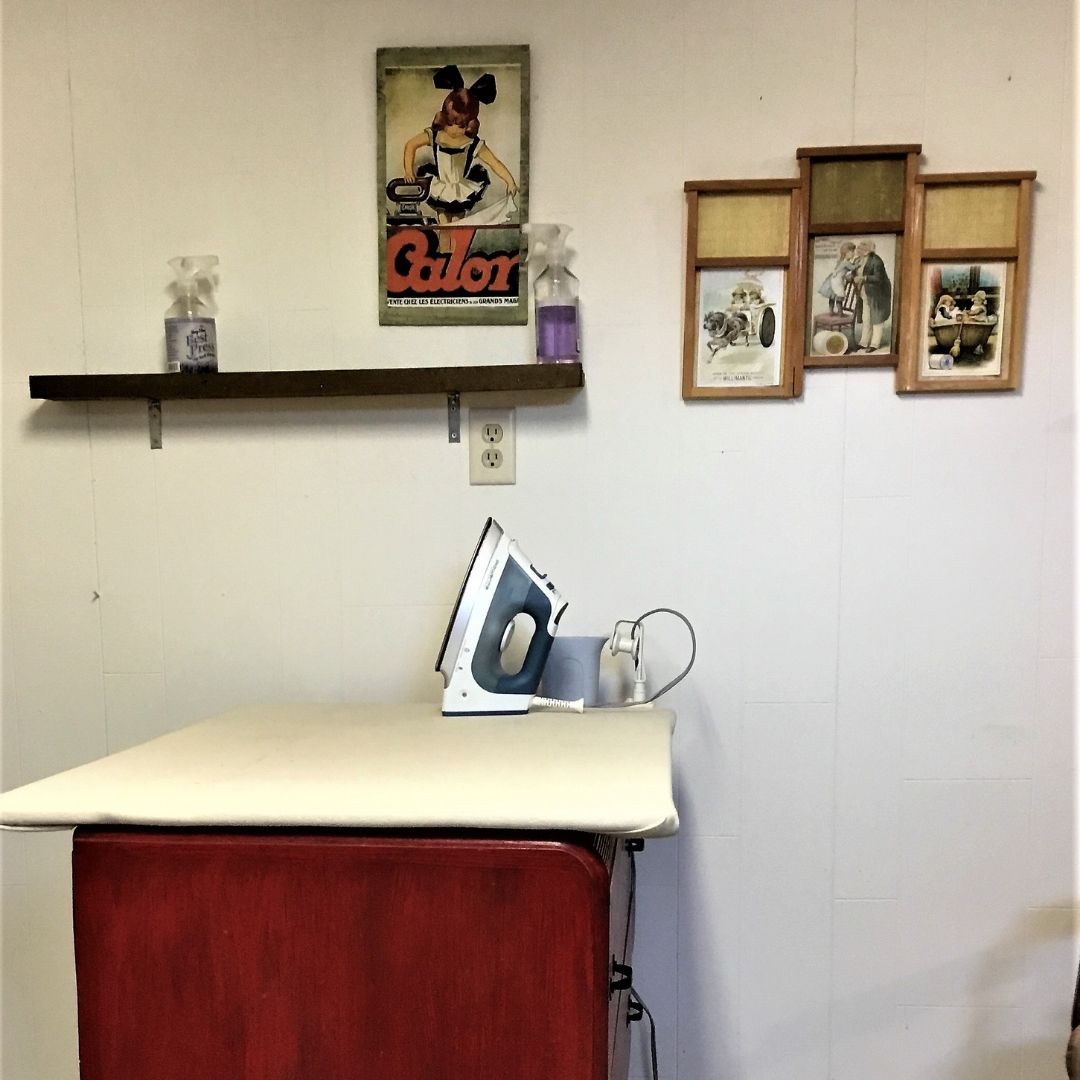
The pressing station is a board covered with batting and heavy canvas set on top of a dresser.  The top drawer contains pressing aids and the bottom two has hopeful projects and UFO's.


The back wall has quilting fabrics colorized with the black fabric bins holding smaller pieces.

Backing fabrics  are in the black shelves with serger, on top.

Novelty fabrics are housed in cubbies with thread  racks on top and small see through tubes that contain notions.

Under shelf is storage for interfacing, batting, bins for yarn and needlework projects, etc.


I'm not a fabric hoarder.
 I am the curator of an extensive textile collection!


Cutting area has pegboard for rulers and cutting tools.  I also have clips to hang notes and book holder if I am using pattern from book or a magazine.


Next to the cutting area is my design area.  The design wall was made from foam board, batting and covered it in flannel.


Completing the design area is a desk for quilt design, art journaling and scrapbooking.

There was an old fashioned pencil sharpener  already mounted to the wall.  That is perfect since I am always losing my sharpeners.


A bookcase holds my collection of quilting and sewing books and magazines.


I hope this tour inspires you and gives you some ideas for your space.  I can't wait to get started sewing in this space!  You can see a bit of my first project on the design wall, a quilt I'm calling Fan Dance.
I'll post here when the pattern and quilt is available.

Until next time...


Tuesday, February 18, 2020

Abe's Birthday at the David Davis Mansion

 The David Davis Mansion was built in 1872 for U.S. Supreme Court Justice David Davis. Davis who also served in the U.S. Senate was a friend and political ally of Abraham Lincoln.  His influence on Abraham Lincoln's legal and political career was crucial to President Lincoln's success.  His wife Sarah's influence on her husband shaped his political career and their lives.


My daughter and I celebrated Abraham Lincoln's birthday at the home of his friend, David Davis.  After cake and punch, Abe regaled us with stories of his life as a circuit judge in Illinois.  Then we were given a tour of Judge David and Sarah's home.  I took some pictures of the quilts she had on their beds so I could share with you.

This bed was covered in a lace top, not a quilt.  But check out the sewing machine sitting by the bed.  The sewing machine was invented around 1830.  1880's they sold for about $100.00, that would be about $2000.00 today.
This room was their daughter, Sally's.  The quilt is appliqued.  The room was roped off so I couldn't get closer to take the picture.


The Churn Dash is a very old 9-Patch quilt block pattern, originating between 1800 and 1849. Its name is a result of the resemblance of the triangle and rectangle perimeter of the block to a butter churn and the center square to the stick (or “dash”) of the butter churn.


This one is Aunt Eliza Star with sawtooth borders. Beautiful!


I love the hand quilting.  I hope you enjoyed the tour. 
Until next time,


A bed without a quilt is like a sky without stars.